In this post, I am sharing how to make a cross stitch garland that you can hang up and use for a party, a particular season or holiday or just to decorate your home.
I stitched one for Summer, but you can use different patterns to adapt this to your needs. I’m sure I will release different patterns myself for different themed garlands in the future.

*Affiliate link. If you click on these links I may earn a small commission at no extra cost to you. I only ever recommend products I have used and loved myself!
You will need:
- A water erasable fabric pen (blue if you are using white aida)
- A piece of felt (approx. 11 x 13 cm)
- 6 pieces of aida or evenweave (I used 26 count evenweave that measured approx. 13 x 20 cm for each piece. If you stitch on 14/28 count or 16/32 count this size will work too)
- A pattern to stitch (I used my kawaii ice cream pattern which you can get for free here)
- Pom-pom trim (approx. 180 cm long)
- A piece of card stock for the triangle template (approx. 11 cm at the top and 13 cm sides)
- Embroidery threads
- Fabric scissors
- A ruler
- Fray Check (I use this Prym one*)
- Sewing Machine (optional)
- Glue gun (optional)

How to Make a Cross Stitch Garland
Step 1
Stitch the pattern you have selected on each piece of aida. Be sure to stitch them as center as you can.

If you are using a different pattern, make sure you have a good margin around the edges; you may need to cut your pieces of aida bigger and use a bigger triangle template.
Step 2
Make the triangle template. I recommend using cardstock for this as it’s better to draw around later.
To make drawing your triangle template easier; draw an 11 cm line at the top. Mark the middle and from there measure 11.3 cm down and make a mark. Go to the end of the top line and use your ruler to line up the end to the mark you just made and that should measure approx. 13 cm. Draw your line and repeat it on the other side.
Keep the mark you made on the top line visible, we need that again soon.
Step 3
Now we also need to mark the middle of the piece of aida. Measure 1.9 cm above the top, middle stitch, and make a small mark with your water erasable pen.


Step 4
Match up the mark you made on your triangle template and the mark you made on your aida and draw around template.


Repeat on all the pieces you are using.

Step 5
Cut around the triangle you have just drawn, but not exactly on the line. You need a margin of around 2cm for sewing.
You can draw another triangle around the first that is 2 cm bigger, or just freehand. It doesn’t matter if it’s not perfect, as long as you can fold over your edges.
What I did, was line the bottom of my ruler up along the lines and drew another line along the top of the ruler.


Again, repeat this on all the pieces.
Step 6
Once they are all cut out, fold in the margins along the lines you have drawn from the template. It’s quite easy on aida to fold along a straight line because you can match up the holes.
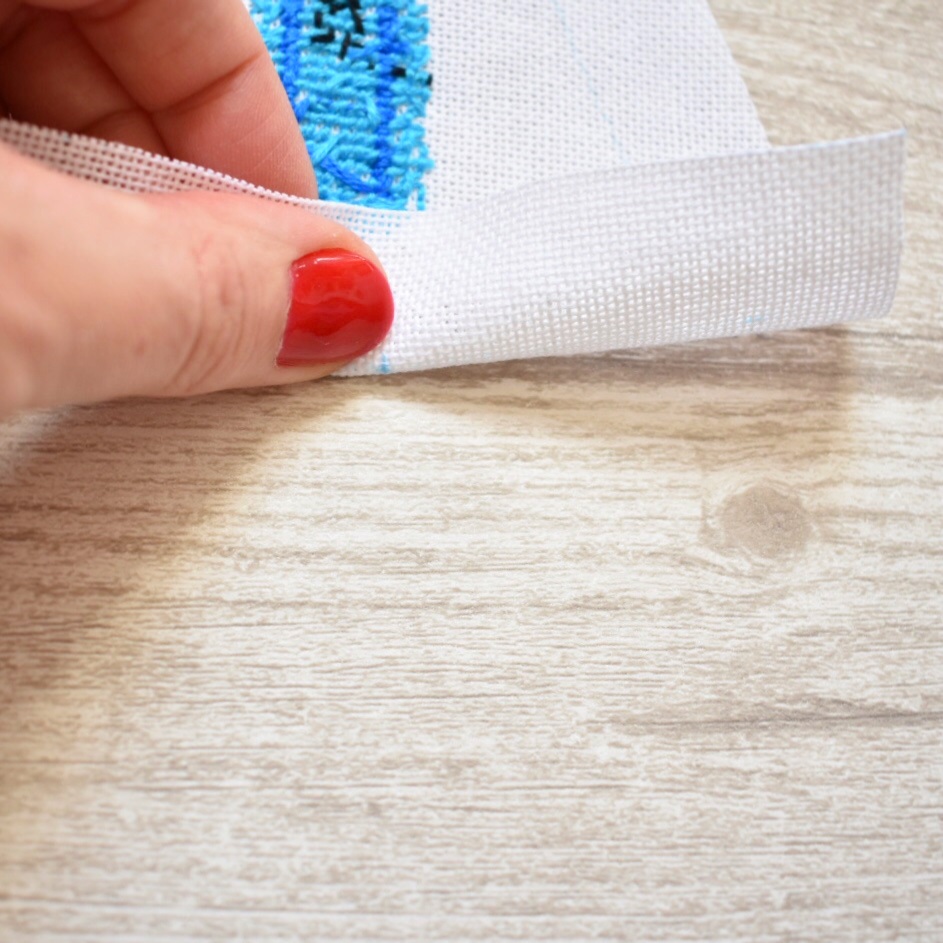
Then stitch along the edges either hand sewing or use a sewing machine. You can also use a glue gun if you wish.
I stitched my line .5 cm in from the edge. Repeat on all your pieces.

Step 7
Now tidy up your triangle. You can wash off lines if needed (I couldn’t really see mine except for the small mark at the top but that is covered up soon).
Snip off the bottom corner that may be sticking out and if you need to, you can put some fray check on that raw point at the bottom.


I use this Prym Fray Check* and I love it! It’s also great for any fraying denim clothes you might have.

Step 8
Depending on where you are hanging your garland this step is optional. I don’t always back my projects, but I did with this garland as it hangs in a window. If it’s on a wall it’s less necessary.
But, if you want it backed, draw around that triangle template on the felt.
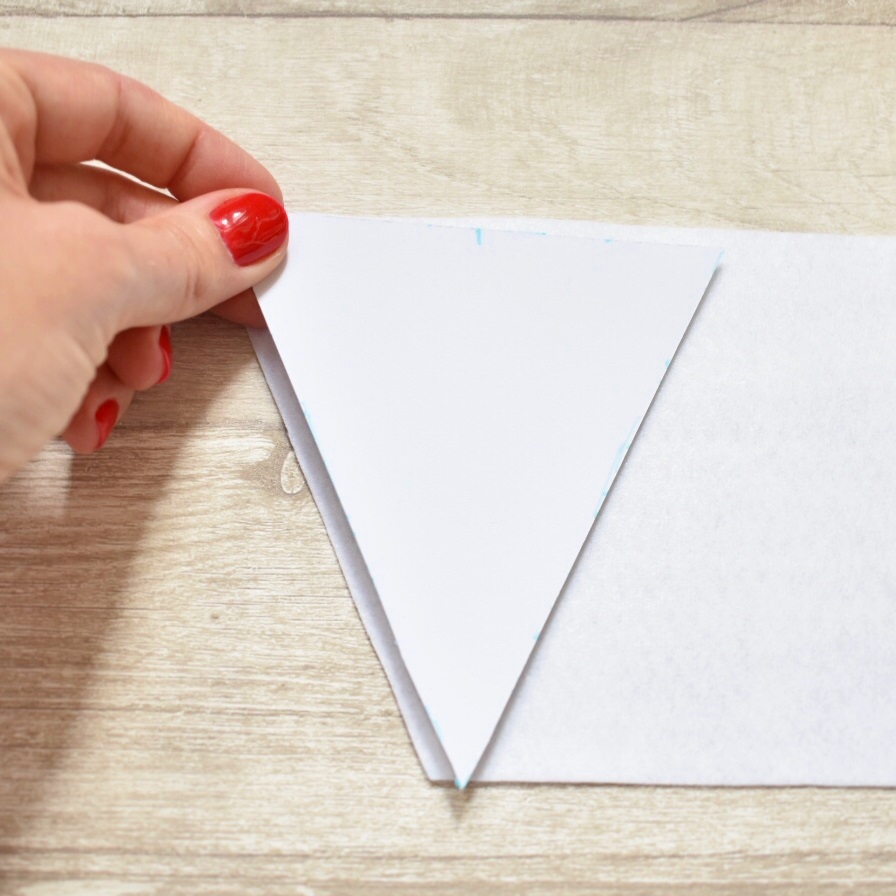
You can use your ruler to hold the triangle in place and draw a nice, straight line.

Cut it out a smidge smaller than the lines. You can see the extra felt I cut off on this photo.

Attach the felt triangle to the back of your aida. Either hand stitch, use a sewing machine, or a glue gun. I opted for a glue gun as once more than 2 layers of fabric hit my sewing machine it does not play nice.

And again, repeat for your other pieces.

Step 9
Now the pom-pom trim! If your strip isn’t cut yet, cut it to 180cm. You can also use ribbon if you don’t have any pom-pom trim.
You can get the rainbow pom-pom trim I use in my Summer Supply Set.
If you have more than 6 pieces you may want either a longer length or smaller gaps between them.
Come in 16 cm from the end and start lining up your triangles. You want a gap of 7cm in between them (unless you have more than 6). Once they’re lined up, use a glue gun, sewing machine, or your hands to attach them.

Again, I just opted for a glue gun.


Double-check your measurements as you go along attaching them as the triangles will no doubt shift around. You could always pin them in place before you start sewing/gluing too.
Step 10
Wait to everything to dry if you have used a glue gun then tie a knot at each end of the garland.


And now you can hang up your finished cross stitch garland!
As I said, I put mine in a window, but be wary of doing this with some pom-pom trim as it may discolour over time. Most of the rainbow one that I used has been OK, but the blue has turned a little pink!

I also used it as a decoration for the garden during my daughter’s birthday too.

I love making projects that use up any scrap pieces of aida/evenweave we may have lying around and this one is perfect for that. Does anyone else hate throwing out aida, even the smallest of pieces??
If you liked this cross stitch garland tutorial I would be grateful if you could share it so others can enjoy it too! You can just pin the image below or use the other share buttons.
Pin for Later

Extra Cross Stitch Resources
- How to Make a Cross Stitch Banner
- How to Make a Cross Stitch Lampshade
- How to Make a Cross Stitch Corner Bookmark